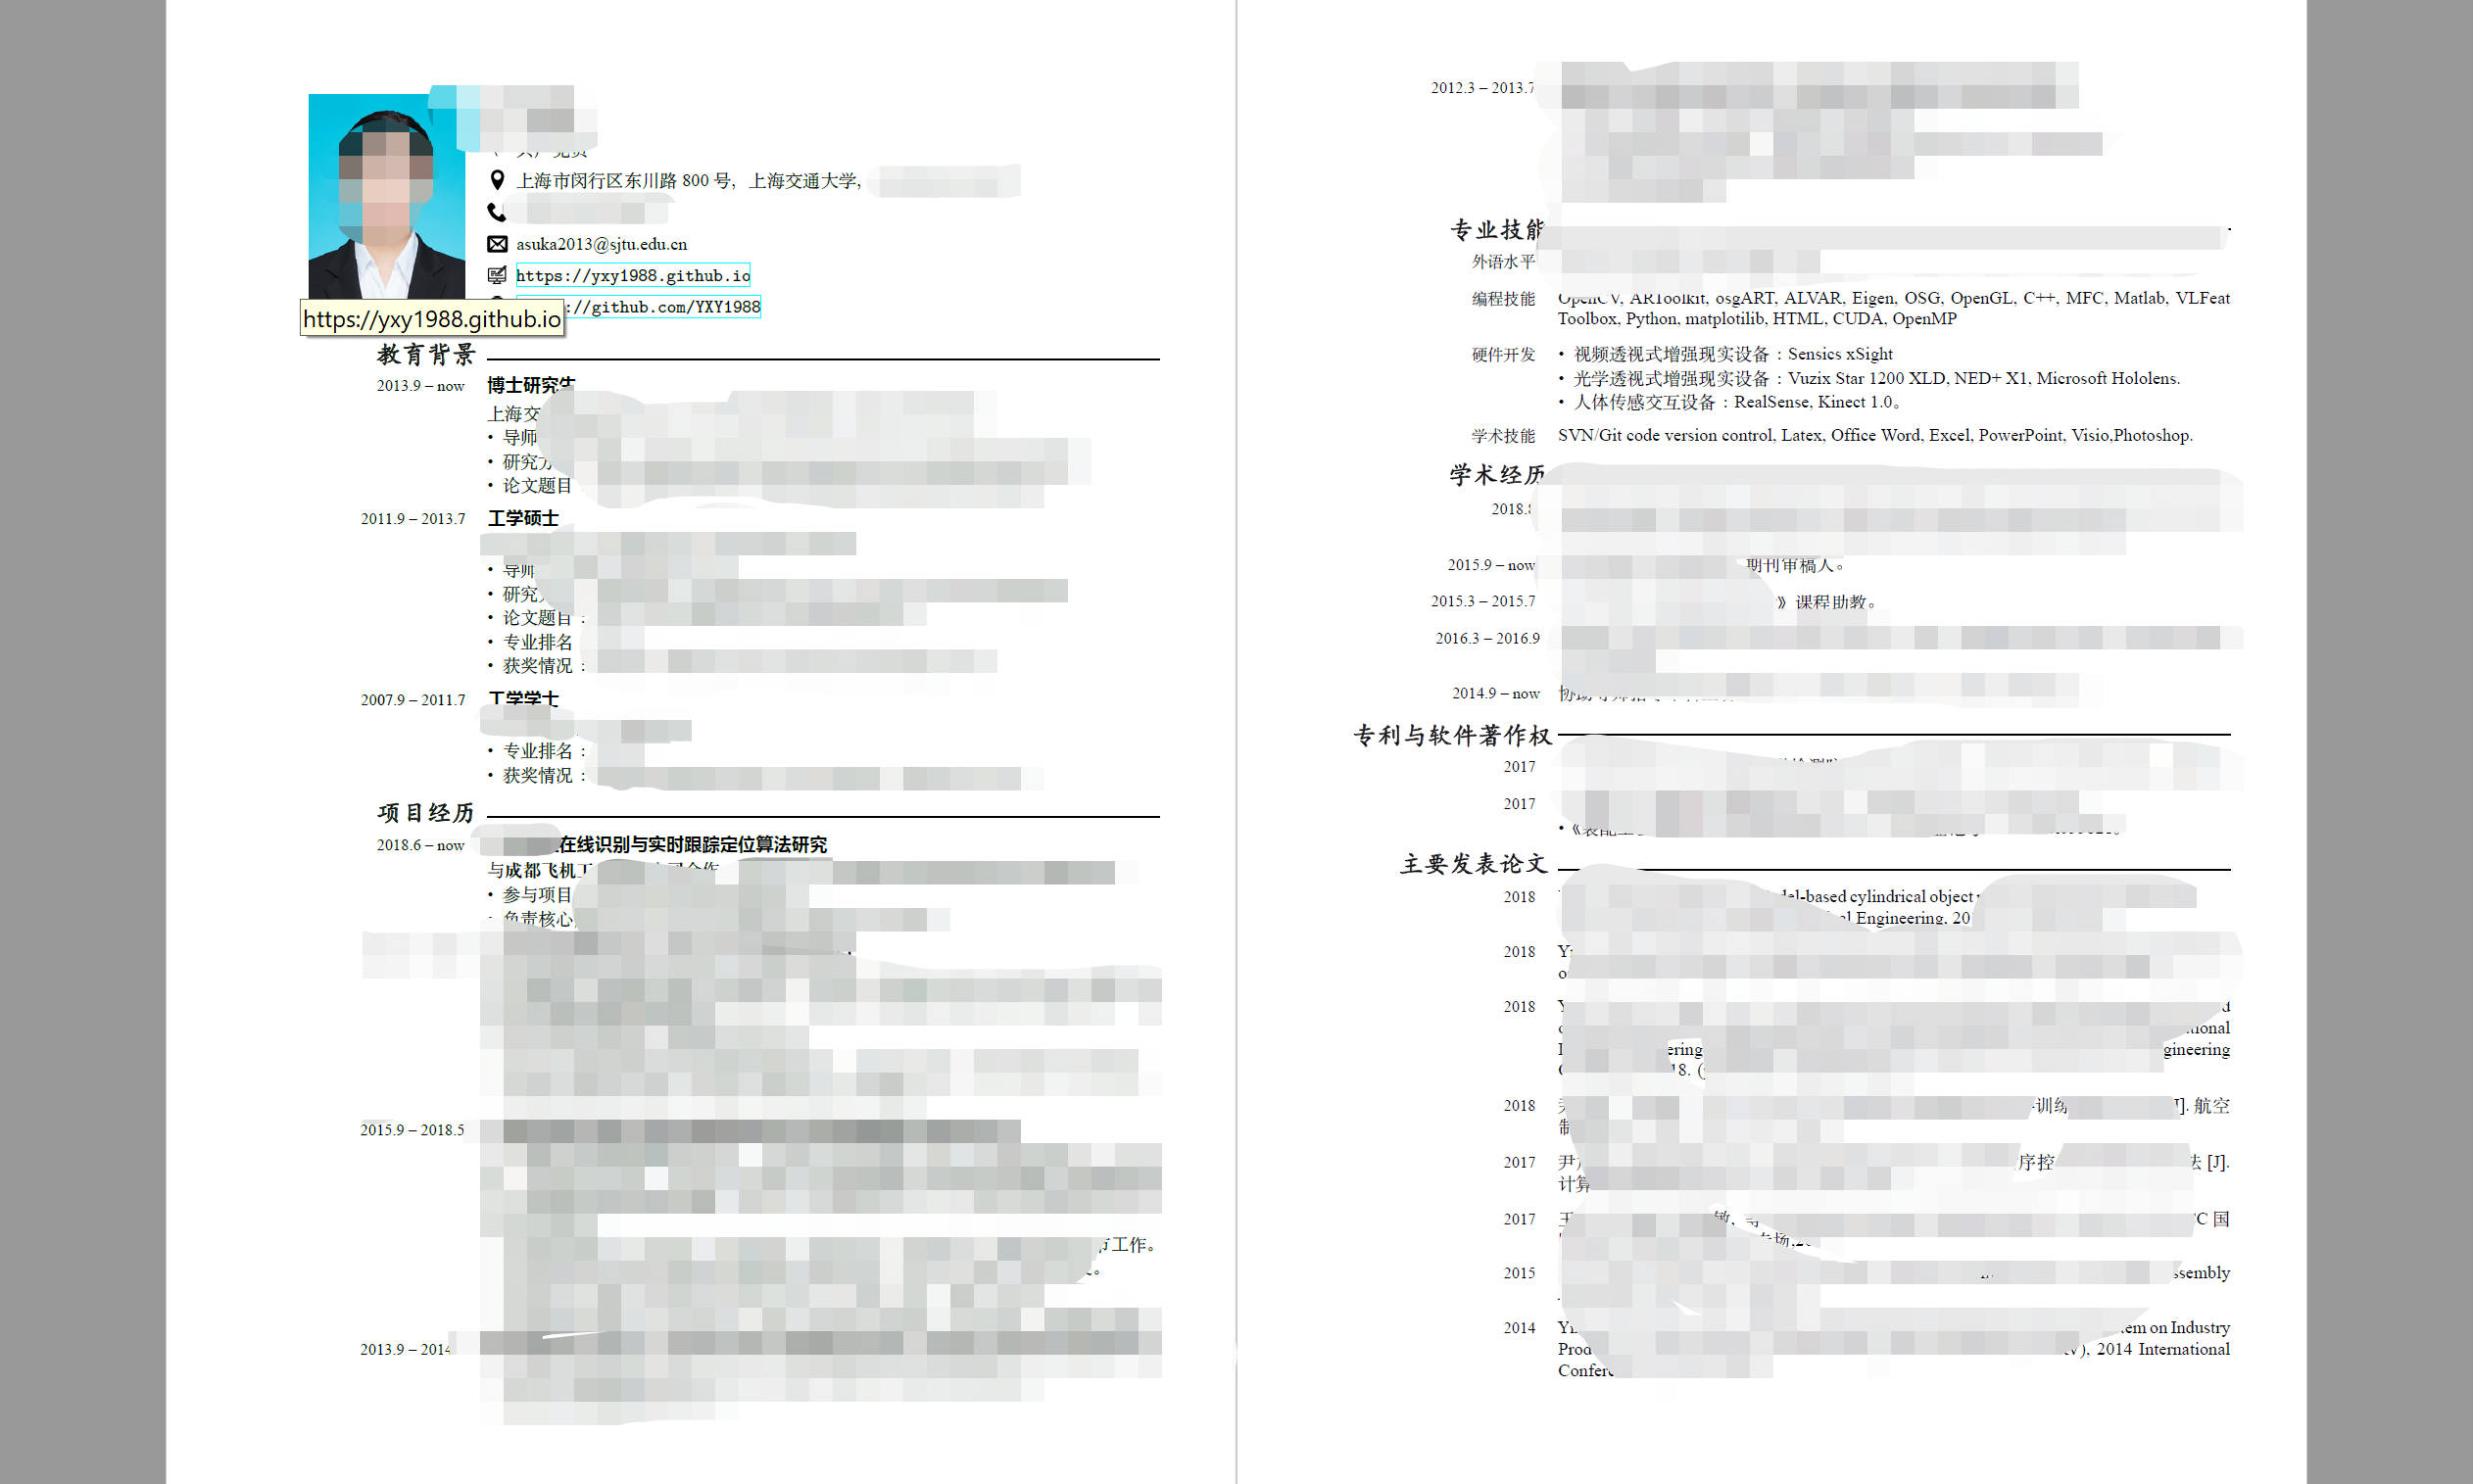
最近在找工作,在国内搬砖只得做中文简历,所以看到好看的 en-template 比如 awesome template 是不能用的了。但是如果学会把 en-template 改造成 ch-template 岂不妙哉。于是本文记录下改造的过程及效果。
效果预览

1 获得一个改造的基础模板
1.1 在哪里找模板
- Latex Templates
- overleaf (最近和OverLeaf合并了。由于我用惯了 texlive,暂时不使用Overleaf,后面会考虑使用Atom.)
- 以一个有照片的为例,我用了这个模板,初始效果如下:

1.2 编译模板的准备
- texlive 2017
- 编译,直到看到效果,这里应该没什么问题。
2 改造之前需要包含的 tex packages
在latex宏定义的部分插入
\usepackage{xeCJK}
\usepackage{fontspec}
之后就可以编译出中文字体啦 但是这时候中文的title全部是tex的默认字体,所以还要改造。
3 字体改造
这里我只做了字体改造,没有改造颜色,崇尚极简和断舍离。
改造前:
% font families
\defaultfontfeatures{Ligatures=TeX}
\newfontfamily{\cvnamefont}{Roboto Medium}
\newfontfamily{\cvsectionfont}{Roboto Medium}
\newfontfamily{\cvtitlefont}{Roboto Regular}
\newfontfamily{\cvdurationfont}{Roboto Light Italic}
\newfontfamily{\cvheadingfont}{Roboto Regular}
\setmainfont{Roboto Light}
改造后:
\defaultfontfeatures{Ligatures=TeX}
%注意此时尽管下面重定义了字体,写作时仍然需要使用自定义命令实现字体
\newfontfamily\kai{STKaiti.ttf}          % 楷体
\newfontfamily\hei{SimHei}           % 黑体
%重定义字体
\newfontfamily\cvnamefont[BoldFont]{STKaiti} %姓名
\newfontfamily\cvsectionfont[BoldFont]{STKaiti}
\newfontfamily\cvtitlefont[ItalicFont]{SimHei}
\newfontfamily\cvdurationfont{Times New Roman} %数字用经典的
\newfontfamily\cvheadingfont[BoldFont]{SimSun}
\setmainfont{Times New Roman}
写作使用:
\cvpersonalinfo{
    % photo
    \includegraphics[height=43mm]{fig/myphoto.jpg}
}{
    % name
   \cvname{\textbf {\kai {韭菜}}} %注意这里的 \kai 命令,就是要使用非系统默认字体时,需要自用命令了

    }
}
替换好字体之后,就可以愉快地注水了。祝看帖的人拿到offer。